
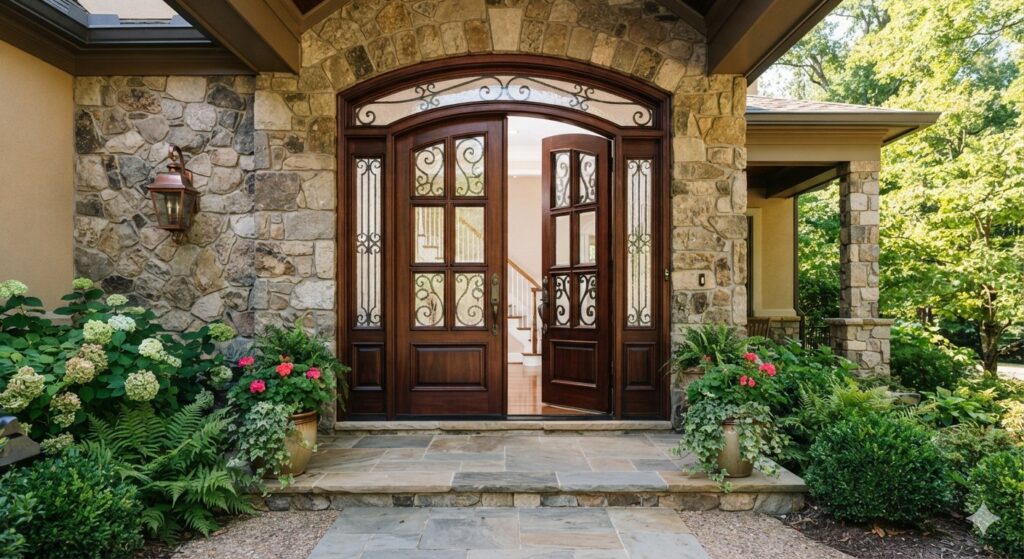
Understanding the door installation process ahead of time makes the day go smoothly and helps you know what a quality job looks like. Whether you’re replacing a front entry door or a patio door, most of the work follows the same steps. Here’s what to expect from professional door installation services, from preparation through the final walkthrough.
Before Installation Day
A little preparation helps the crew work efficiently and protects your home:
- Clear a path from the driveway to the door and move furniture, rugs, and decor away from the opening.
- Plan to keep pets and children in another area, since the doorway will be open for part of the day.
- Arrange to use another entrance while the work is underway.
- If the door has an alarm sensor, contact your security provider about disconnecting and reconnecting it.
Step 1: Protecting Your Home
The crew starts by laying down drop cloths or floor protection and confirming the details of the job with you, including the door style, swing direction, and hardware.
Step 2: Removing the Old Door
Depending on the job, the installer removes either just the door slab or the entire door and frame. For most exterior replacements, a prehung replacement door is installed, which means the old frame and trim come out as well.
Step 3: Inspecting and Preparing the Opening
With the old frame removed, the installer checks the rough opening for rot, water damage, and level. Any soft or damaged framing or subfloor should be repaired before the new door goes in. For exterior doors, a sill pan or flashing is installed at the bottom of the opening to direct water away from the floor and framing.
Step 4: Setting the New Door
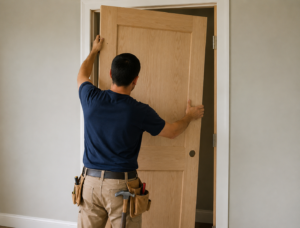 The new unit is placed in the opening and shimmed until it’s plumb, level, and square. This is the most important step in the door installation process, since it determines how well the door swings, latches, and seals for years to come.
Step 5: Insulating and Sealing
Gaps between the frame and the rough opening are filled with low-expansion foam or insulation, and the exterior is sealed against air and water. Proper sealing is what allows ENERGY STAR certified exterior doors to deliver the efficiency they’re rated for.
Step 6: Hardware, Trim, and Adjustments
The installer adds the lockset and deadbolt, installs interior and exterior trim, and caulks the joints. The weatherstripping and threshold are adjusted so the door closes firmly without gaps or excessive force.
Step 7: Testing and Cleanup
A quality installer tests the door several times, checking that it opens smoothly, latches on the first try, and seals evenly. The crew then removes the old door and debris and cleans the work area.
Step 8: Final Walkthrough
Before the crew leaves, you’ll walk through the finished installation together. This is the time to test the locks, ask about care and maintenance, and get your warranty information.
How Long Does Door Installation Take?
A single entry door replacement often takes a few hours to most of a day. Larger openings, such as new sliding patio door units, multiple doors, or repairs to damaged framing can extend the timeline. Your installer should give you an estimate before work begins.
After Installation
New weatherstripping may feel snug for the first few weeks as it settles. Keep your warranty documents and register the product if the manufacturer requires it. If your door was delivered unfinished, ask how soon it needs to be painted or stained, since some warranties depend on timely finishing.
Getting the Most From Your Door Installation Process
A smooth door installation process comes down to preparation, careful setting and sealing, and a thorough final check. Knowing these steps helps you ask the right questions and spot quality workmanship.
Ready to schedule your new door? Call Murray Window Replacement at (385) 786-6447 or request a door replacement estimate to get started.